DIY Dry Erase Board

It’s the beginning of the year and I always have this need to re-organize! All of my shows have ended, the holiday shopping season is over and the holiday prep chaos is all over my sewing room. So – it is a perfect time to reorganize. I refold fabric and throw away unusable scraps, vacuum up threads and get unneeded craft supplies ready to donate. As the smoke clears and I can actually see a path to start creating again, I feel the need to make my lists. In the past I have always used a dry erase board, which are great, but after years of using the same one I notice that it looks messy. A few times I accidentally used a sharpie. Some months I didn’t erase some words and now those letters are horrid to get removed. And I notice that in certain spots, the pretty shine is no longer there. Time for a new board! But wait…can I make one?

What is the easiest thing in my house to clean – the windows. I know this because my precious Cunucu dog, Bella is so fabulous at placing her dirty paws and wet nose on our glass door and windows. And of everything in my house, they are also the easiest to clean – not necessarily the easiest to keep clean, but to wipe clean. So, how about I make a dry erase board from something glass like a frame? Let’s get crafty and see what we can come up with.
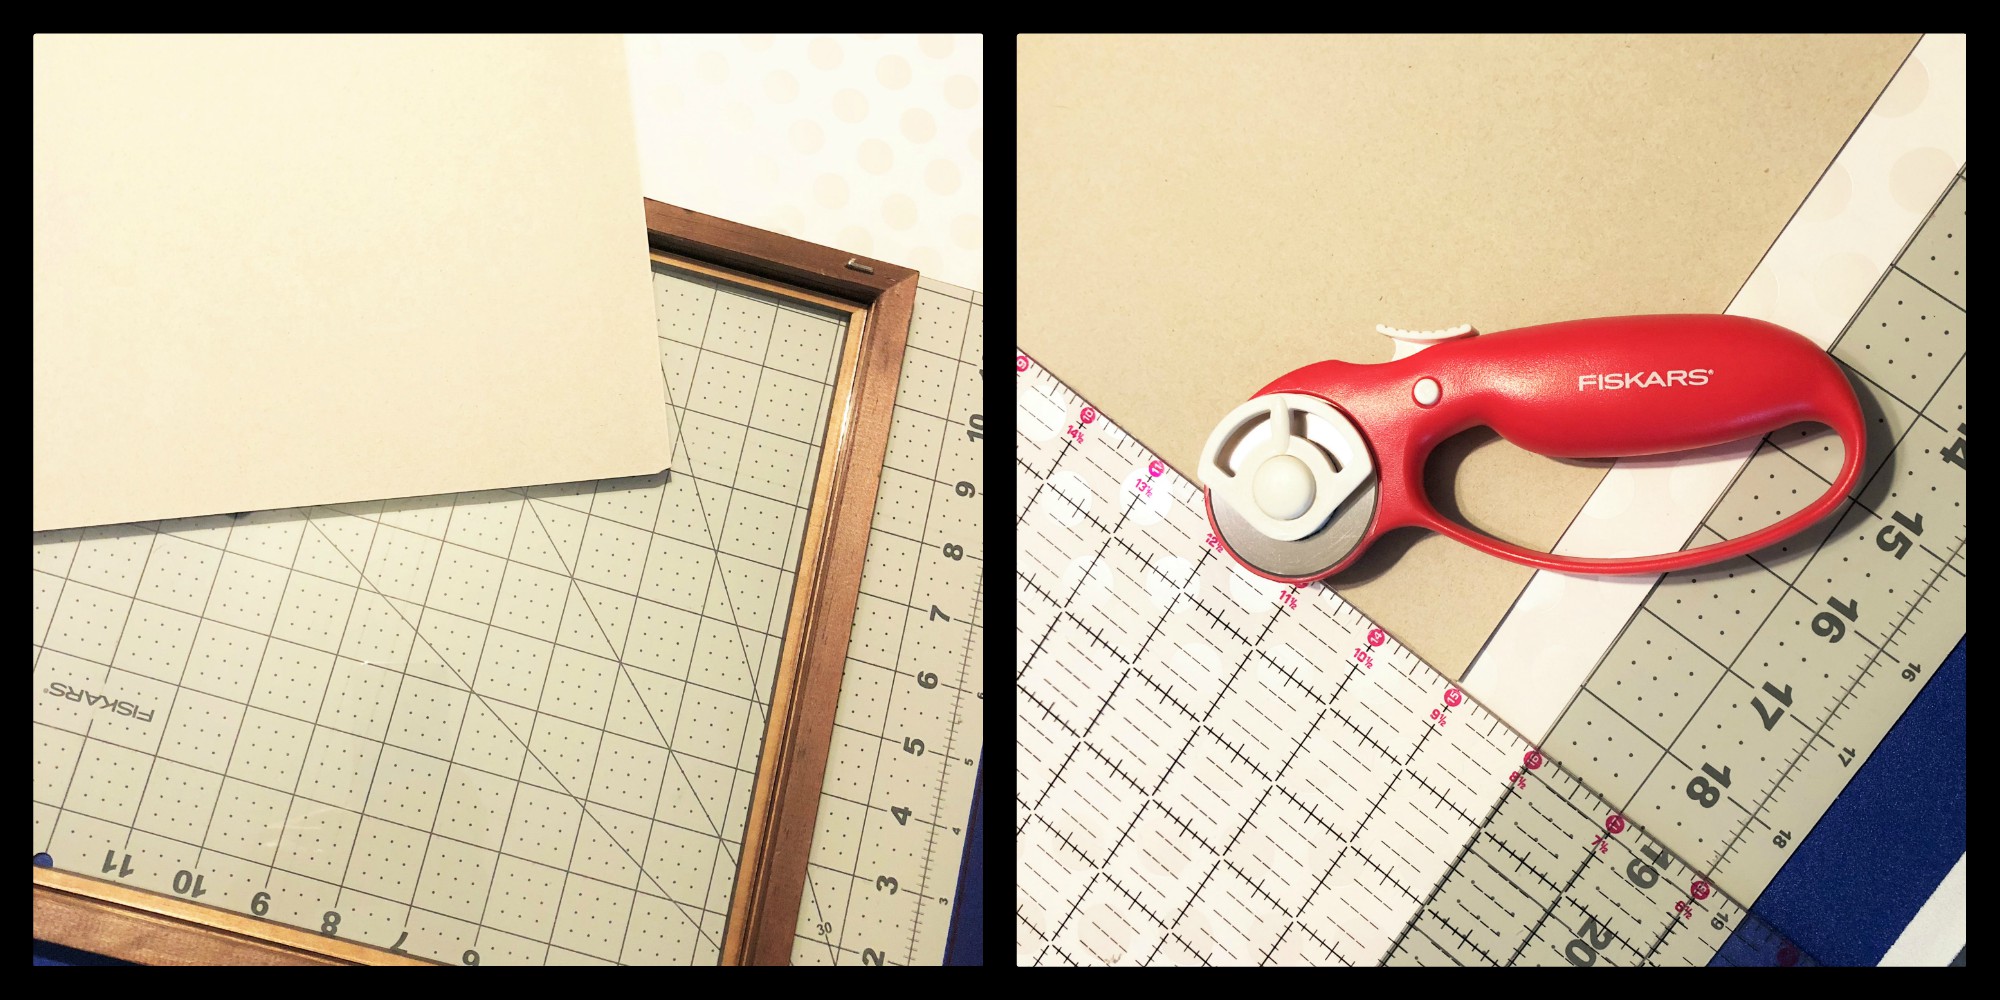
I found a long frame with a dark wood that matches the room where I sew. Because I am using glass to write on, I will need to place something behind the glass that is decorative but will allow me to see the words that I write. I chose a white scrapbook paper with iridescent polka dots.
Side note: scrapbooking paper is amazing. There are so many colors and designs that you can frame them as-is and tada – perfectly customized art work!
Okay, back to the project at hand. Take the frame backing off and use the backing or the stock photo to cut your new scrapbook paper. Once it is cut, flip the design over and place it in your frame (design side down) and then the frame backing, locking the back in place.

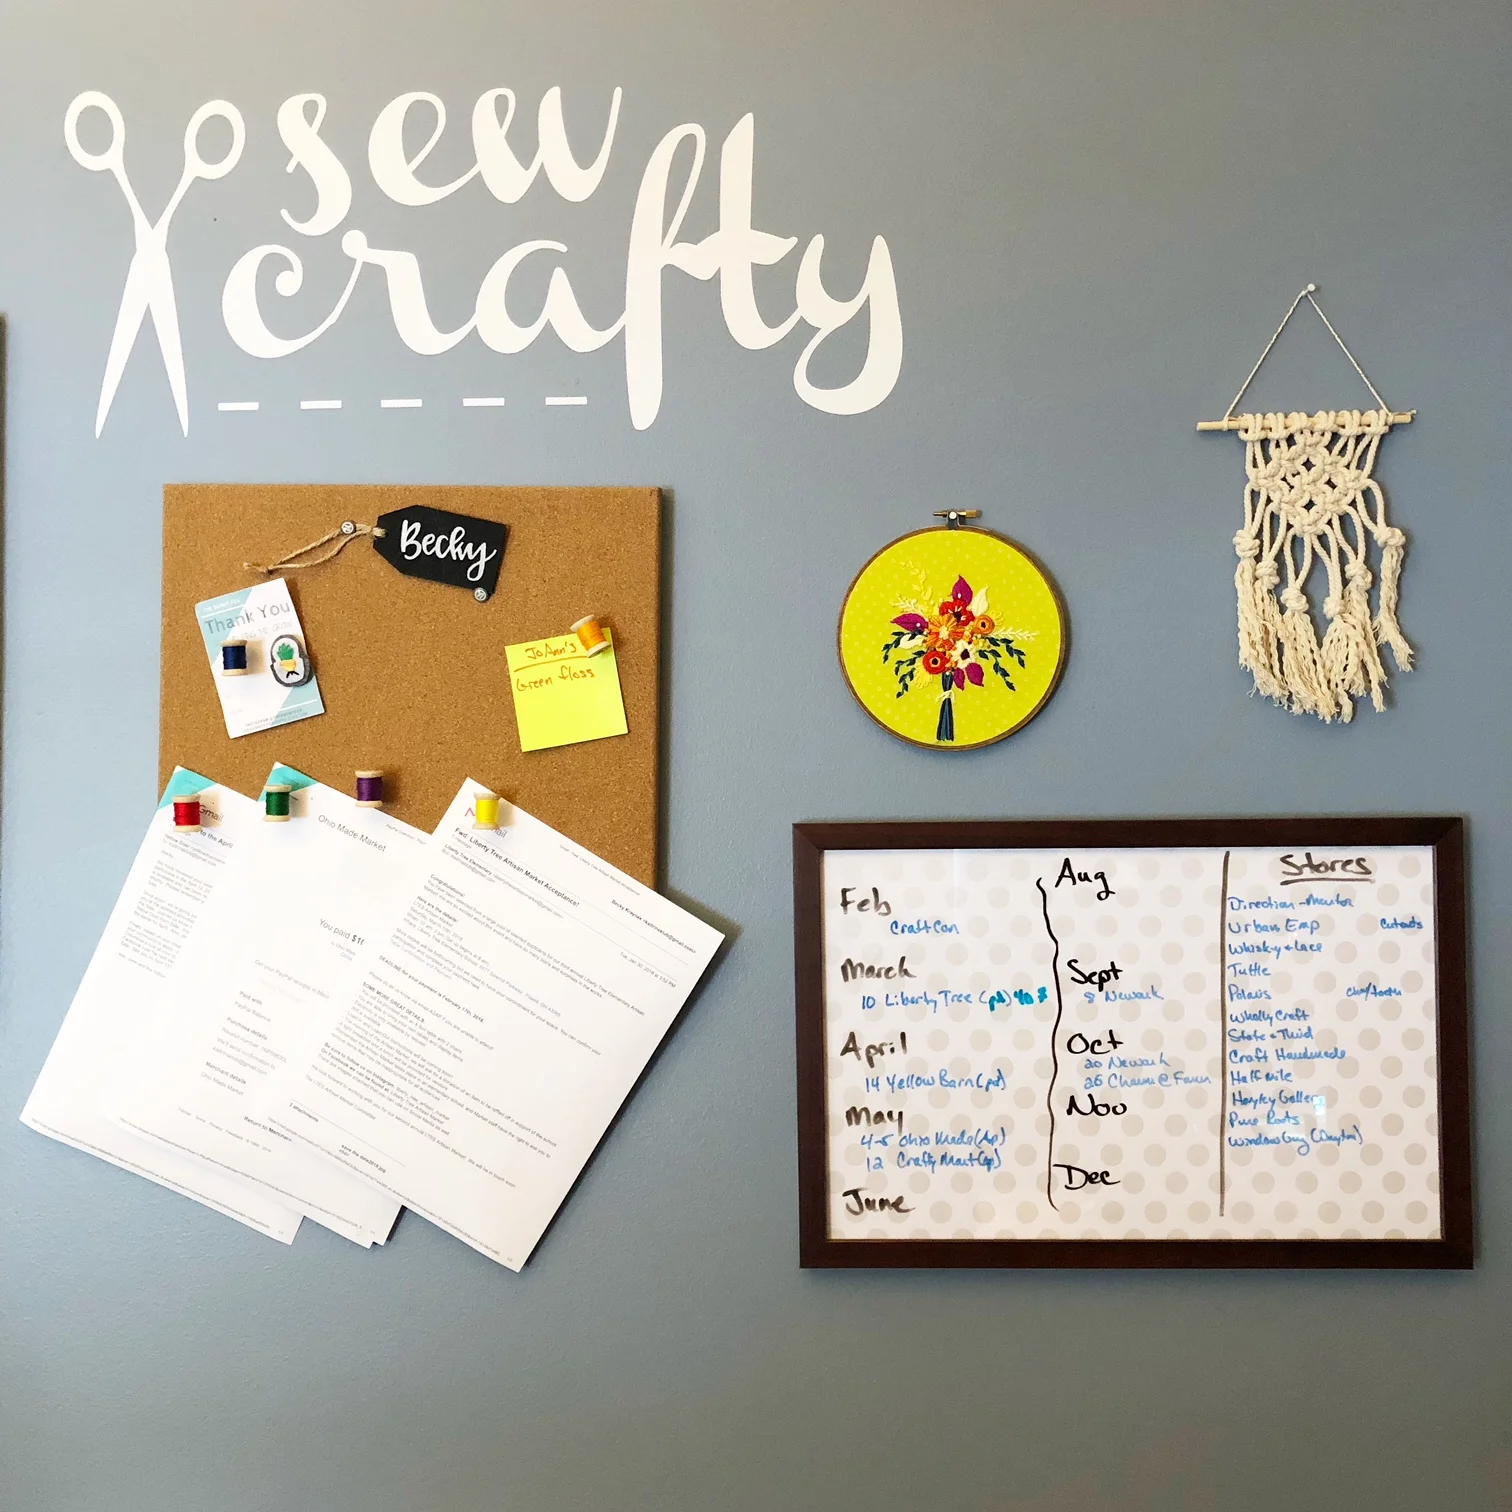
Turn it over and you are done and ready to hang it on the wall. You can use any size or color dry erase marker on the glass to write out to do lists, weekly meal planning, upcoming calendar events or even shopping lists!
I used it in my sewing room near my bulletin board to keep me straight on upcoming handmade shows and stockist needs.